Licensed Plumber · One Truck · Portland, OR

Every Leak Has a Story. Here's How to Read Yours.

Free diagnosis guides from a licensed plumber — no appointment needed.

14 yrsLicensed & insured
2,400+Leaks diagnosed
4.9★312 reviews
Scroll
Field Notes

Three Leaks. Three Lessons.

Real jobs from the last 18 months. Left side: what the homeowner saw. Right side: what was actually happening.

Low

The Faucet That Dripped for Six Months

"I kept meaning to fix it. Drip, drip, drip — I even put a bowl under it. Then my water bill came in and I nearly fell over. It was $47 higher than the month before. I figured it was the washer. I figured wrong."

Marcus T., first-time homeownerNortheast Portland
What This Teaches

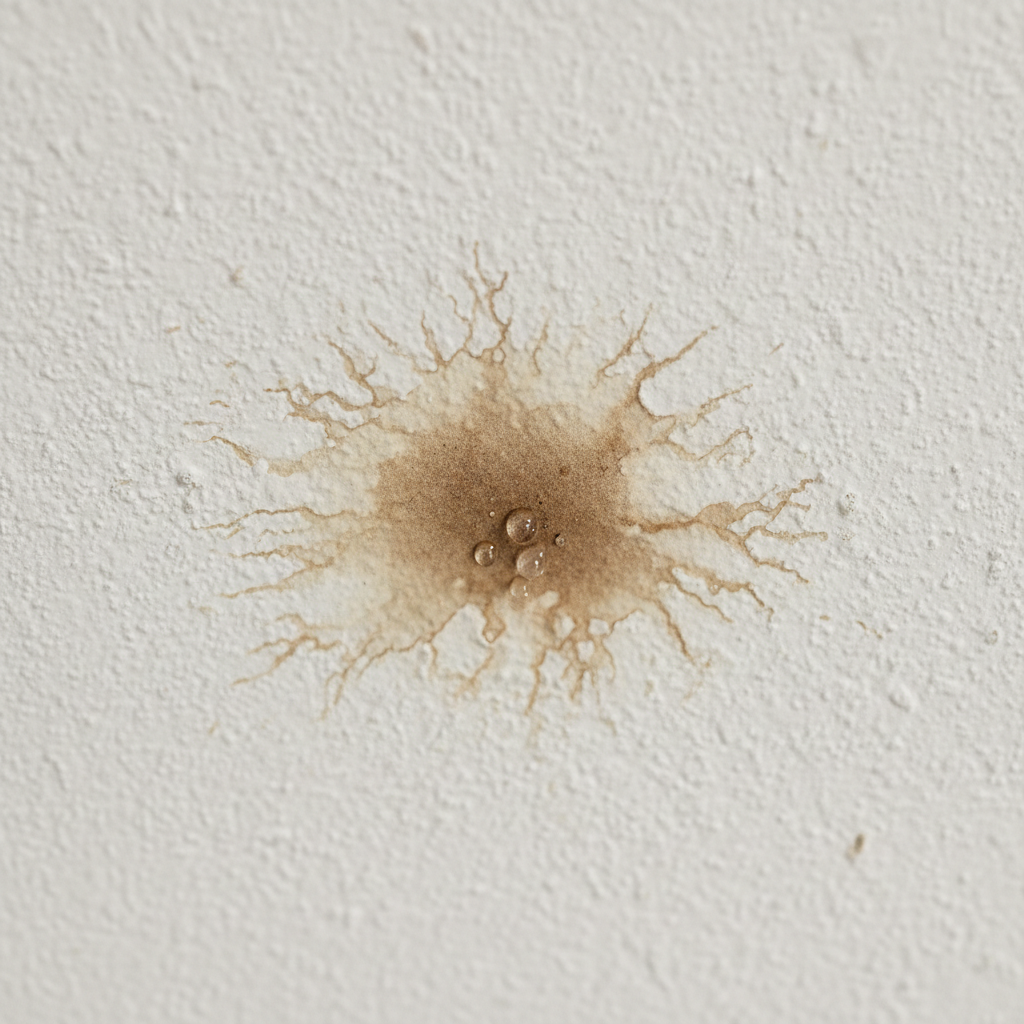
A dripping faucet wastes 3,000–5,000 gallons per year. At Portland Water Bureau rates, that's $18–$31 annually — but the real cost is the secondary damage: cabinet floor rot, mold under the sink, and the psychological drain of hearing it at 3am.

⚠ Warning Sign

If the drip returns within 30 days of a "repair," the seat is pitted. Demand a seat inspection.

Close-up of a dripping chrome kitchen faucet with water drops falling
Actual job site
Plumber's Diagnosis

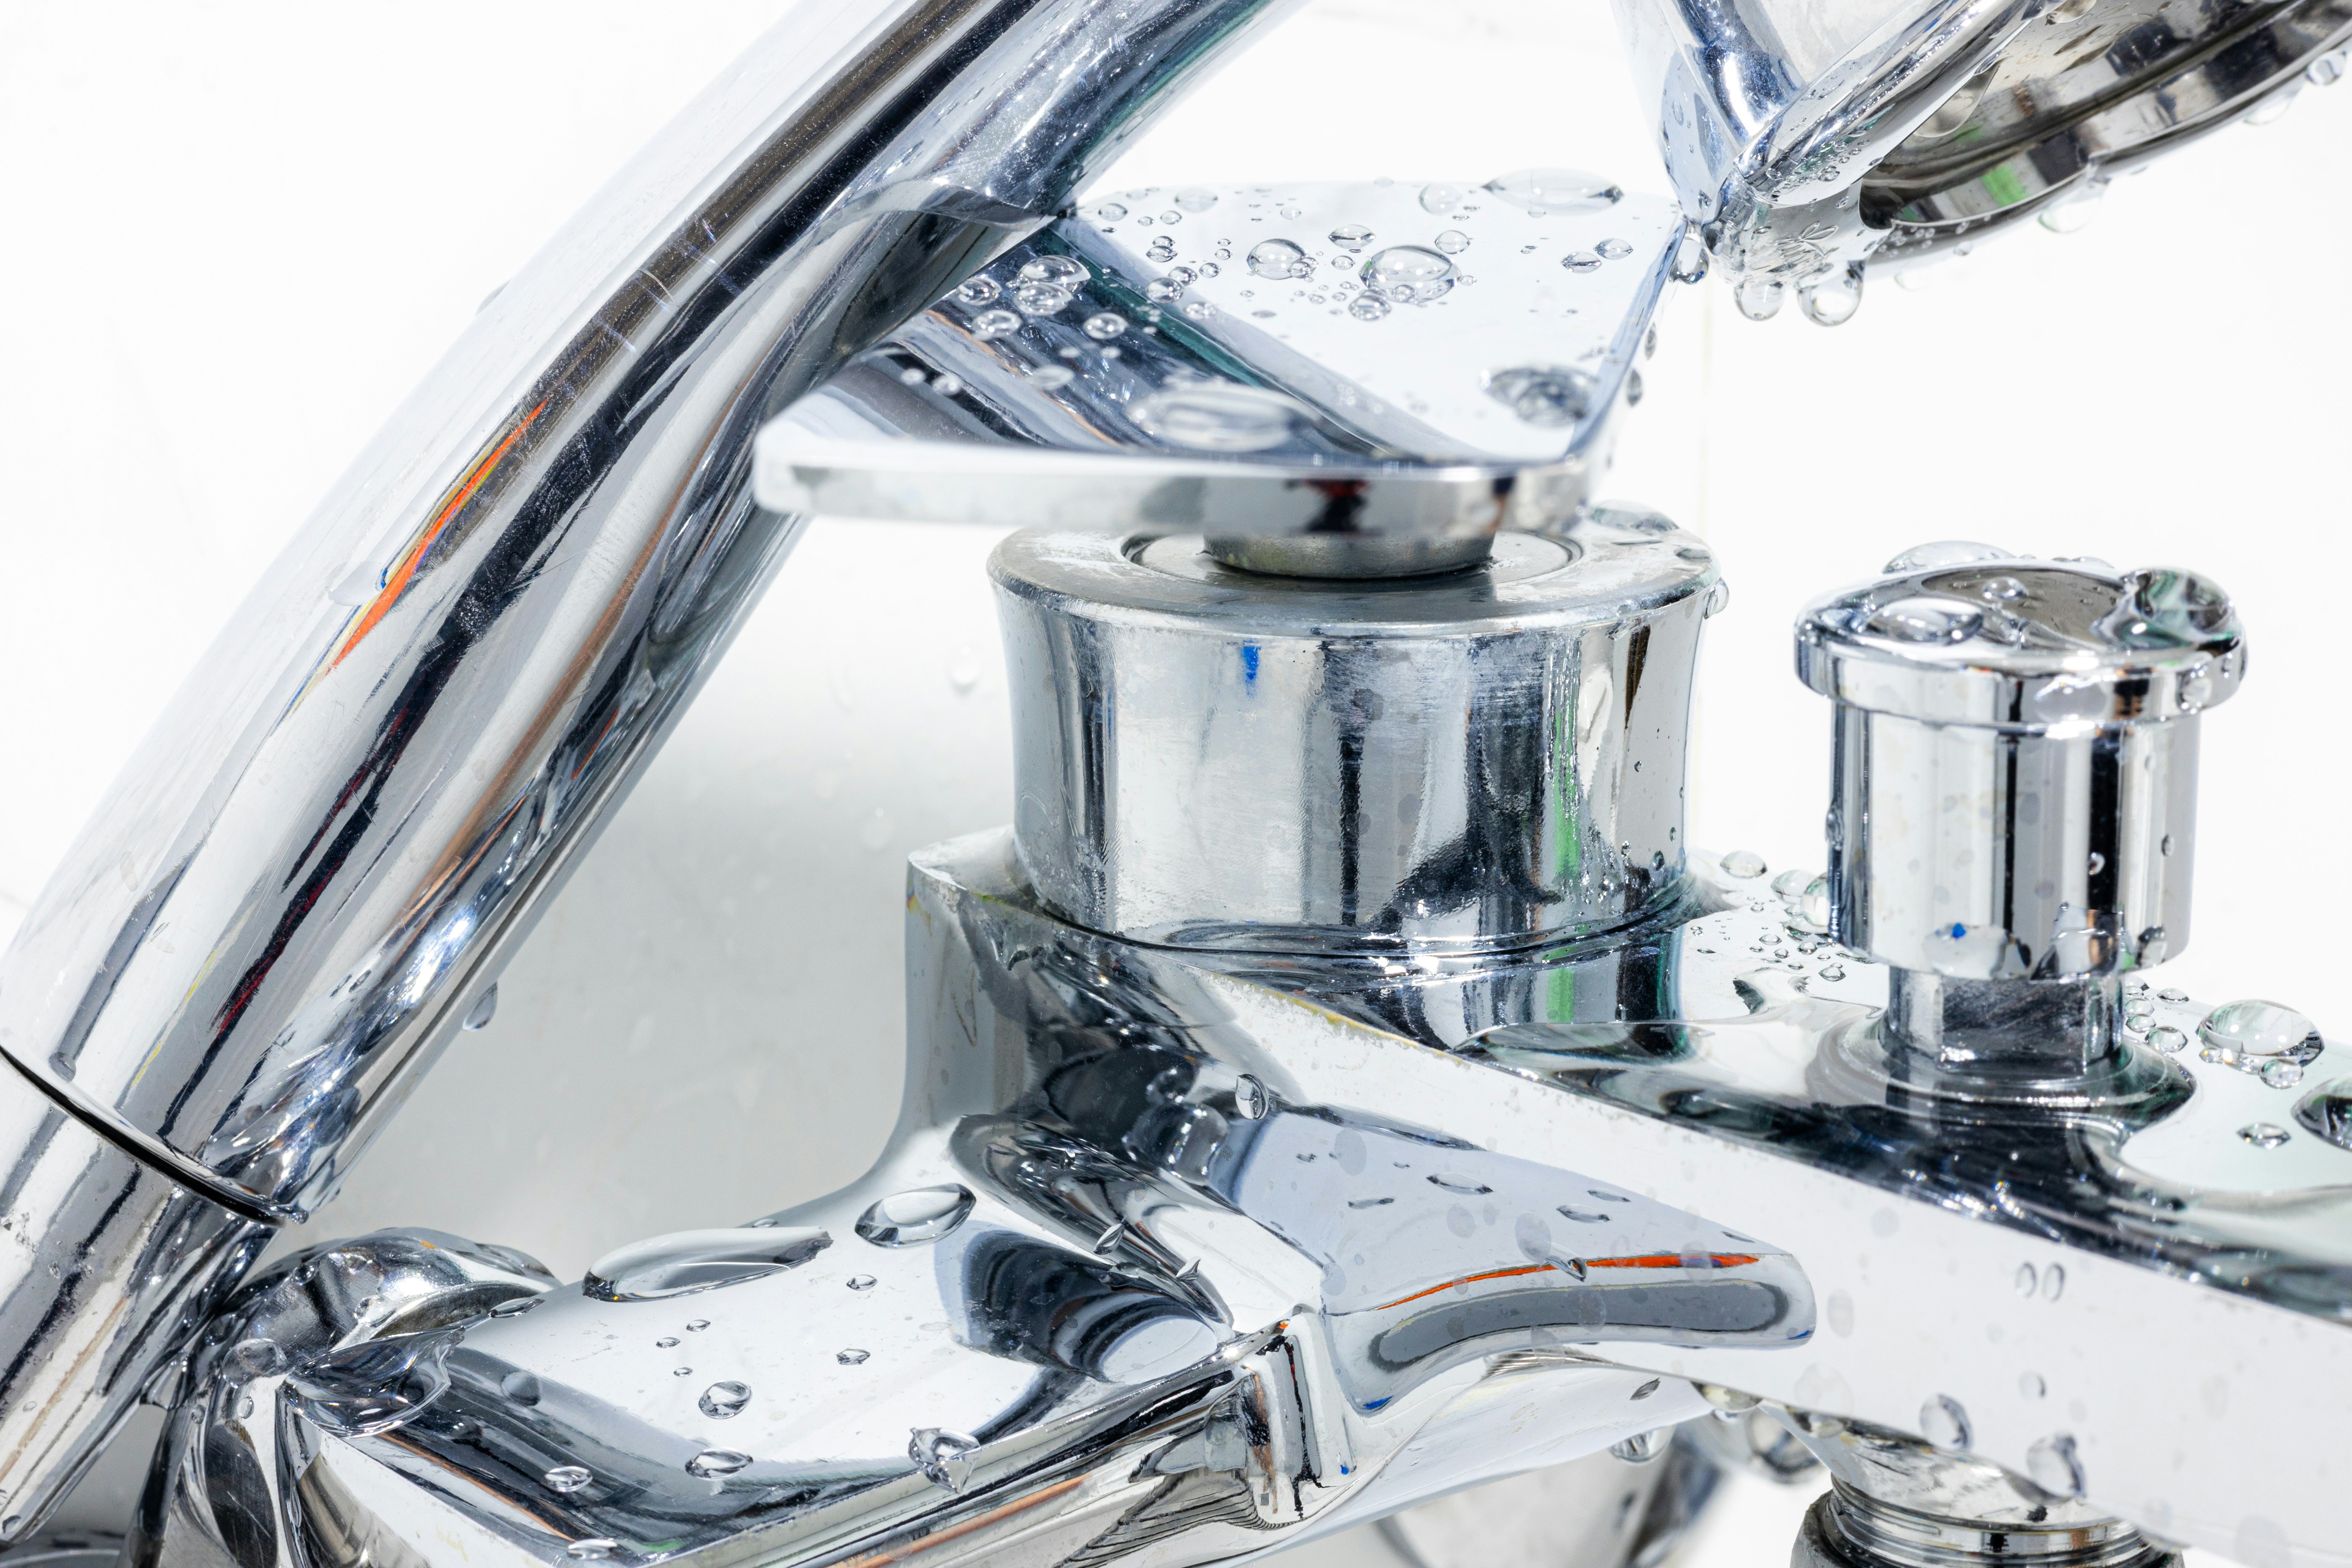
What Marcus described as a worn washer was actually a corroded cartridge valve — a $4 part that had cracked, allowing the seat to pit. Replacing just the washer would have bought two weeks.

Root Cause

Corroded cartridge valve + pitted seat. Common in homes with high mineral content water (Portland's east side pulls from wells with 180+ PPM hardness).

Repair Steps
  1. 1Shut off supply valves under sink
  2. 2Remove handle and packing nut
  3. 3Extract cartridge — note: brass vs ceramic disc matters here
  4. 4Inspect seat for pitting with a fingernail test
  5. 5Replace cartridge AND resurface or replace seat
  6. 6Reassemble, test at full pressure for 2 minutes
Typical Cost Range$85 – $220

Cartridge + labor. Seat replacement adds $40–$60 if pitted.

83%

of slab leaks show no visible water on the surface.

Source: IAPMO Research
High

The Brown Stain That Wasn't Coming From Above

"There was a brown ring on the living room ceiling, maybe eight inches across. I called my upstairs neighbor — nothing. I called a roofer — nothing. Three weeks later the ring was fourteen inches and the drywall had gone soft. That's when my landlord finally called someone who knew what they were looking for."

Donna R., tenant / landlord: Bill O.Sellwood-Moreland, Portland
What This Teaches

Water always lies about where it came from. The stain tells you where it stopped, not where it started. A plumber who looks only at the ceiling is guessing.

⚠ Warning Sign

If a ceiling stain doesn't correspond to any fixture or drain directly above it, you have a supply line leak. Call before the drywall fails completely — remediation costs triple once mold sets in.

Water damage brown stain spreading across white ceiling drywall
Actual job site
Plumber's Diagnosis

The stain was tracking horizontally through the floor assembly from a pinhole in a 3/4-inch copper supply line running through the joist bay — 11 feet from where the stain appeared. The water followed the vapor barrier, pooled, and wicked up into the drywall below.

Root Cause

Pinhole corrosion in copper supply line. Caused by aggressive water chemistry (low pH + dissolved oxygen) eating through the copper wall from the inside out. This building was built in 1968 — original copper.

Repair Steps
  1. 1Thermal imaging to trace the travel path
  2. 2Locate the source line — not where the stain is
  3. 3Access via ceiling or subfloor (we chose subfloor here)
  4. 4Cut out the affected section — minimum 6 inches past visible corrosion
  5. 5Install new copper or transition to PEX with push-fit fittings
  6. 6Pressure test at 80 PSI for 30 minutes before closing up
  7. 7Dry out cavity before drywall repair — minimum 72 hours
Typical Cost Range$380 – $950

Highly variable based on access. Subfloor access is cheaper than ceiling demo. Add $200–$500 for drywall repair if needed.

3,000

gallons wasted per year by a single dripping faucet.

Source: EPA WaterSense
Critical

The Water Heater That Hissed Before It Failed

"I'm 71. I've been in this house 34 years. The hot water started going lukewarm around noon every day, which was strange. Then one morning I heard this hissing sound from the utility closet and there was water on the floor. I didn't know if I should touch it. I turned off the main and called my son, who called you."

Eleanor V., retireeLake Oswego, OR
What This Teaches

A T&P valve that activates is not a nuisance — it's the last safety mechanism between you and a catastrophic tank failure. The valve is telling you something the tank can't.

⚠ Warning Sign

Lukewarm water in the afternoon (when demand is low) + any hissing, popping, or rumbling from the tank = sediment problem. If the unit is over 10 years old, get it inspected before winter.

Aging water heater in utility closet showing rust and sediment buildup at base
Actual job site
Plumber's Diagnosis

The hissing was the temperature-pressure relief valve venting — the tank had built up scale to the point where the heating element was cycling constantly, causing thermal expansion that triggered the T&P valve. The tank was 17 years old with visible rust at the base. This was 48–72 hours from a full failure.

Root Cause

Sediment accumulation (4+ inches at tank bottom) causing element overwork → thermal expansion → T&P valve activation. Combined with anode rod depletion allowing tank wall corrosion. Standard life expectancy is 8–12 years; this unit was 17.

Repair Steps
  1. 1Immediate: Verify T&P valve is not stuck open — that's a safety emergency
  2. 2Shut off gas/electric supply and cold water inlet
  3. 3Drain tank completely — note: water will be 140°F, use caution
  4. 4Inspect anode rod (was completely consumed)
  5. 5Decision point: Repair vs replace — at 17 years, always replace
  6. 6Install new 50-gallon power-vent unit with expansion tank
  7. 7Set to 120°F (scalding risk reduction for elderly occupants)
  8. 8Document installation date on unit with permanent marker
Typical Cost Range$1,100 – $1,800

Includes unit, disposal of old tank, and all fittings. Power-vent vs. atmospheric vent affects cost by $150–$300.

Free Resource

The Home Leak Diagnostic Guide

24 pages. No upsell. Written the same way I'd explain it standing in your utility room — plain language, real numbers, no filler.

What's inside
How to tell if a stain is active or old
Reading your water meter for hidden leaks
The 5 smells that indicate specific pipe problems
When to call vs. when to wait
What a plumber should check on every visit
Cost ranges for 12 common repairs

Get the Guide — Free

Sent to your inbox immediately. No follow-up spam — I'm a plumber, not a marketer.

No appointment. No pitch. Just the guide.

Free Estimate

Describe What You're Seeing. I'll Tell You What It Means.

No obligation. I read every submission and respond within 4 hours during business hours. If it's urgent, call directly.

The more specific, the better. Smell, color, location, when it started.

I respond within 4 hours. No high-pressure sales calls.

What happens next
1

I read your description

Every submission gets my eyes on it — not an algorithm. I look at the photo, the zip, and the description together.

2

You get an honest assessment

I'll tell you if it's urgent, what it probably is, and a rough cost range. If I can't diagnose remotely, I'll say so.

3

You decide

No obligation. If you want me out there, we schedule. If not, you still have the information.

What people say

"He called back in two hours and told me exactly what I was looking at before he even came out. That kind of honesty is rare."

Patricia M.SE Portland

"I manage six rental units. Having someone I can text a photo to and get a real answer from is worth more than I can say."

David K.North Portland landlord
Active Emergency?

If water is actively flowing where it shouldn't be, don't wait for the form. Call the main shut-off, then call me.

Call (555) 123-4567